News & Events
JTEKT Machinery News and Events from the Field
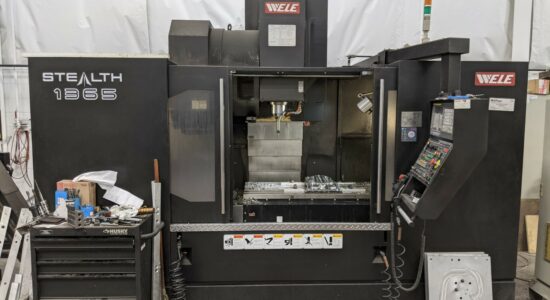
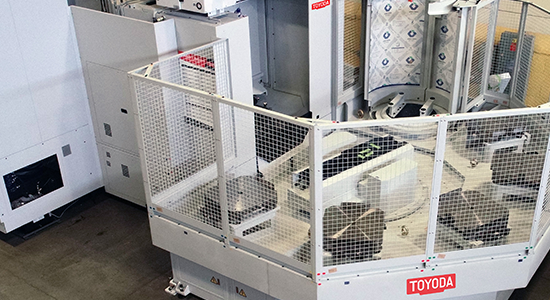
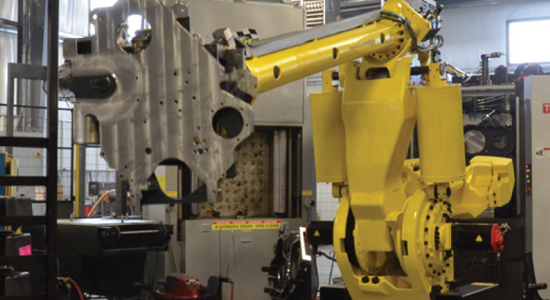
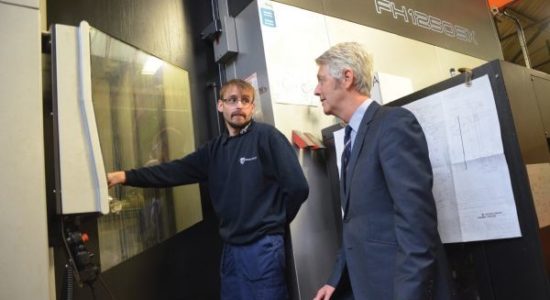
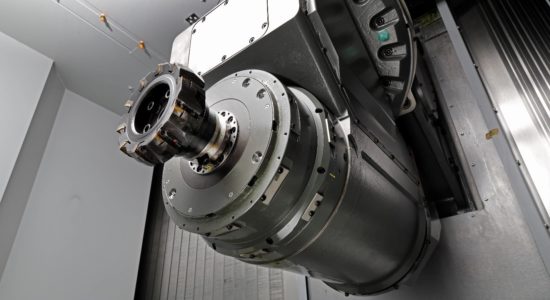
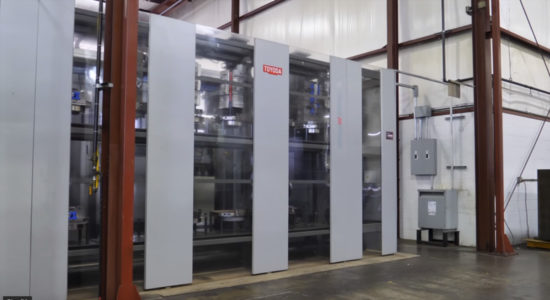
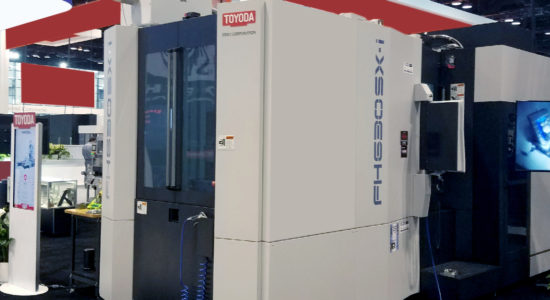
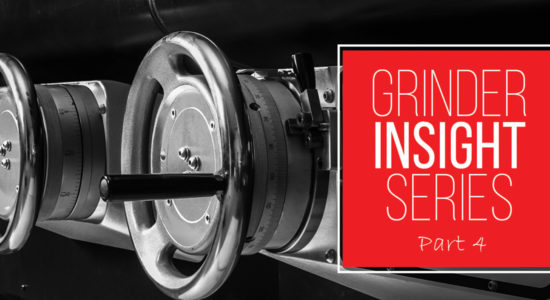
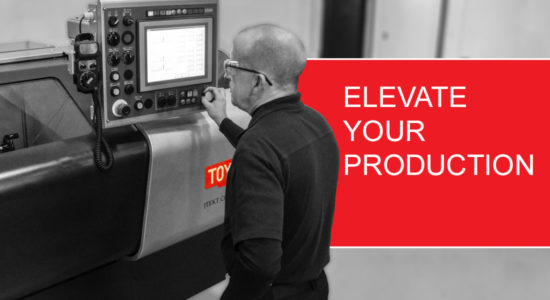
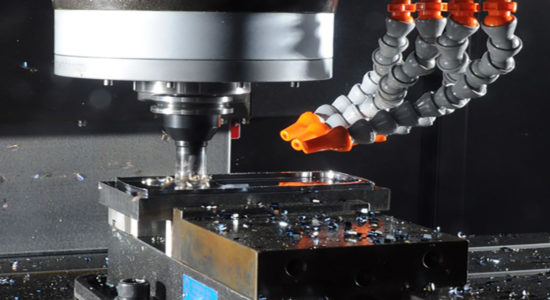
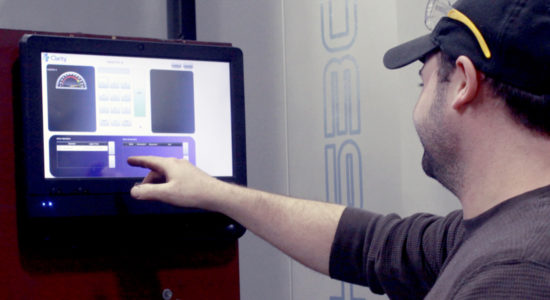
At JTEKT Machinery, from install to production, we give our customers the knowledge and tools they need to optimize their machining operations – setting the industry standard for highly efficient machine shops. Continuing this mission is our four-part Grinding Machine Insight Series aiming to educate customers on the in's and out's of their machine, providing a comprehensive resource into their machine’s capabilities.
In the latest edition, our grinding machine experts have compiled a helpful checklist of pre-production steps shop owners should take for the most optimally smooth grinding process of their JTEKT Machinery grinding machine.
Please note: The checklist below was compiled with JTEKT Machinery machines in mind. Always reach out to your machine manufacturer for proper machine setup.
Want to read Part 1: Machine Design? Click Here!
Want to read Part 2: Machine Options? Click Here!
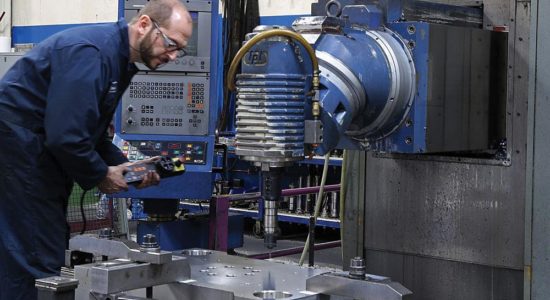
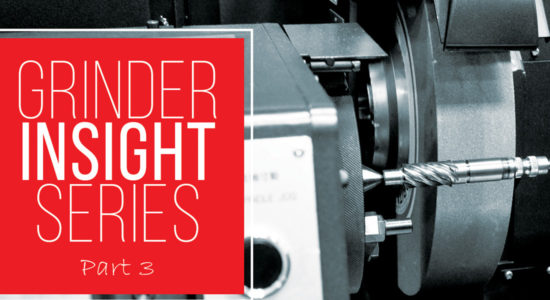
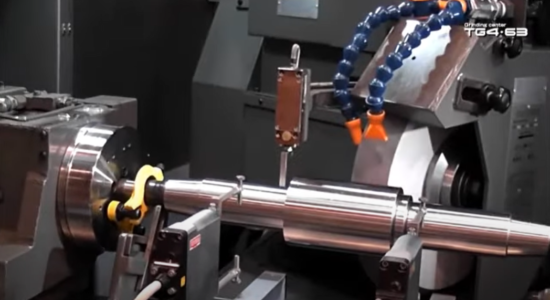
Part 3: What steps should I take to ensure my JTEKT Machinery Grinder and part are correctly setup for production?
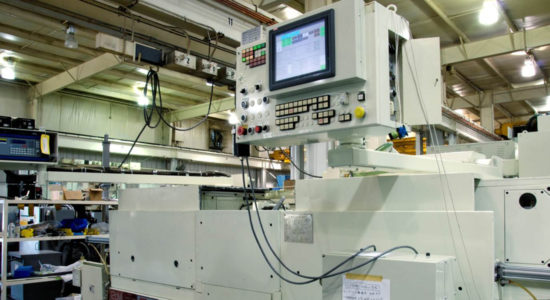
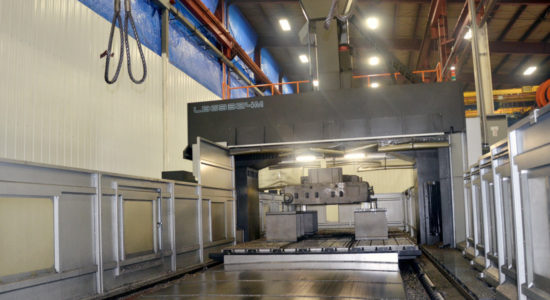
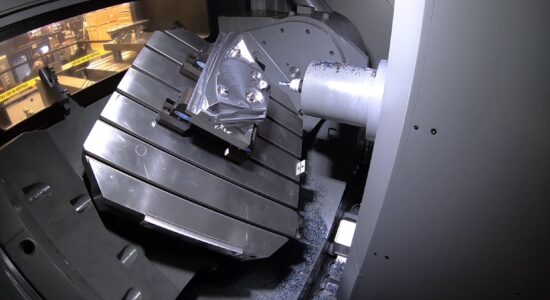
| Prior to Setting the Machine on its Foundation
Prior To the Setting Machine on its Foundation:
(2) Place individual units, such as control console and coolant tank, in according to the floor plan located in the SPECIFICATIONS OF MACHINE manual.


(2) Raise the other jack bolts before leveling to ensure they aren't in contact with the jack bases.


(4) Place a precision level (.02mm or .0005’/12’) on the table in the right left position.

(6) Place the precision level in the front to rear position.

(8) Tighten the remaining jack bolts until they make light contact with their bases. Confirm that the original jack bolts are still snug.
(9) Confirm the machine is still level in both directions. If yes, finish tightening the lock nuts. If not, redo this step.
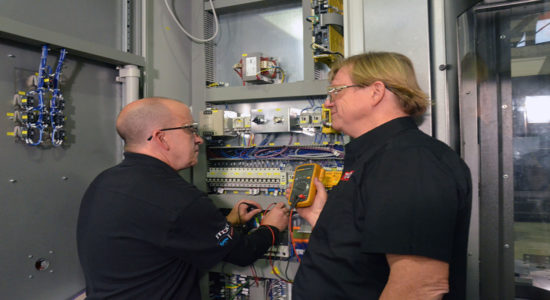
(10) Tighten the jackscrews on the electrical panel and the hydraulic pump.
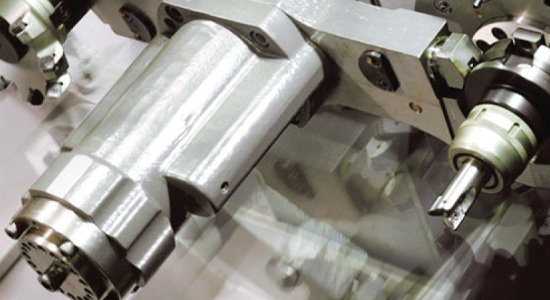
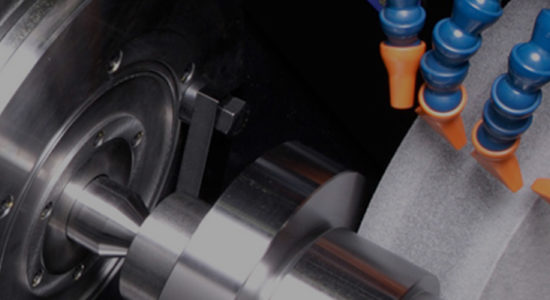
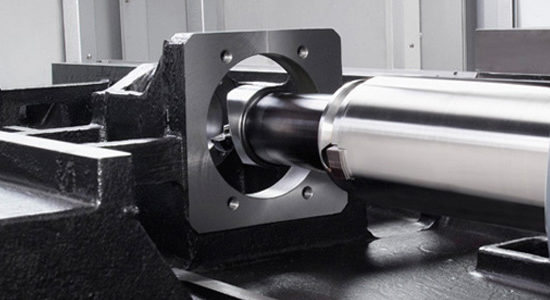
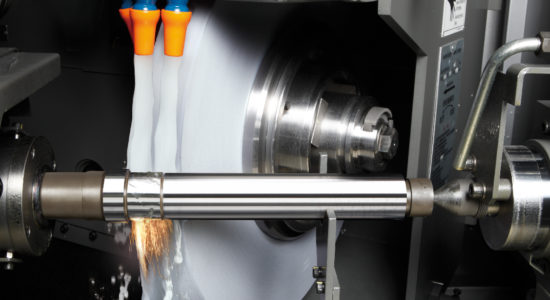
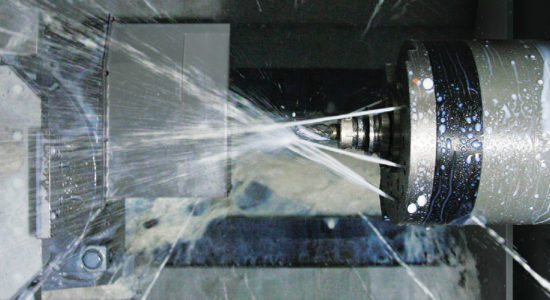
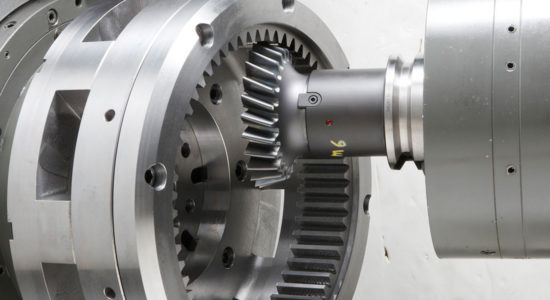
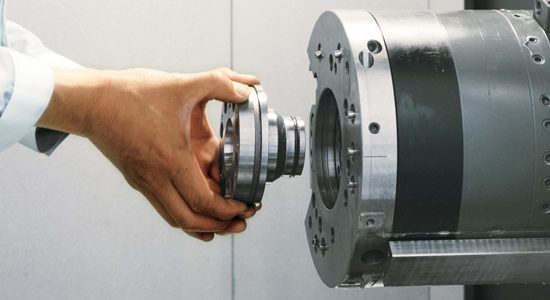
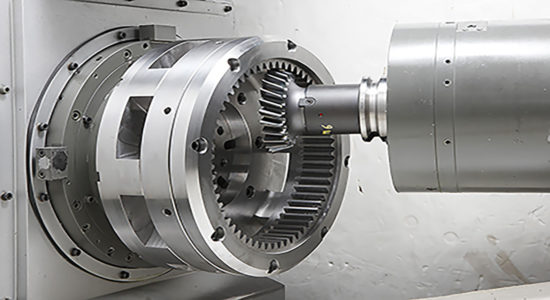
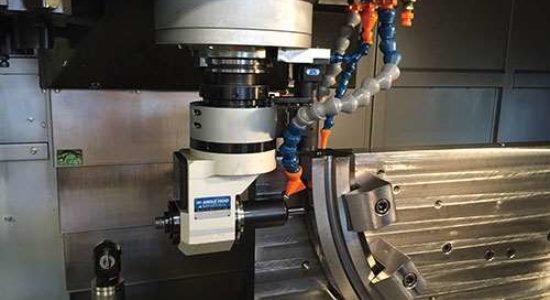
Prepping Grinding Machine Parts:
(2) Centers of the parts should be free of burrs or debris to prevent rotational inaccuracies.
(3) Use a clean single point/cluster/fleece diamond or a fresh rotary disc (depending on the dressing technique).
(4) Align centers to prevent taper within the part.
(5) Use a balanced grinding wheel that's been ring tested & speed rated for your machine’s RPM.
(6) Ensure that the wheel has been properly dressed.
(2) Filters should be cleaned and up-to-date on maintenance.
(3) The media used for filtration should be free flowing to support constant proper filtration.
(4) The fabric filtration shouldn’t be clogged or over saturated and set at a proper speed to prevent flooding.
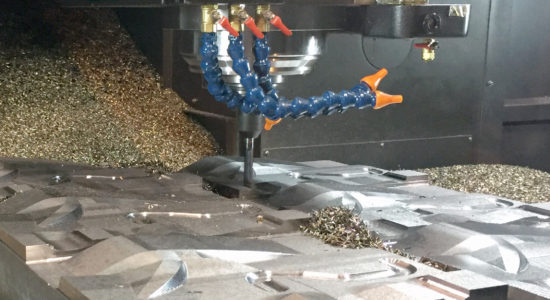
(5) Way lube system should be cleaned for lateral locator and process gauge to prevent faults. This is equally important for any hydraulically actuated components.
(6) Ensure that the magnet is regularly cleaned as it can get very dirty, very quickly.
(2) Have a clean coolant tank with as much particulate removed from the coolant as possible.
(3) Using a refractometer make sure that you have proper coolant & water percentage.
(4) Verify that your hydraulic fluids are clear and free from water or coolant.
(5) Ensure that the machine’s casting has all of the swarf cleaned from the corners and from the coolant returns. This promotes proper evacuation and temperature regulations of the casting while preventing alarms.
(6) Check for proper coolant flow to the grinding wheel so that parts don’t heat up or burn.
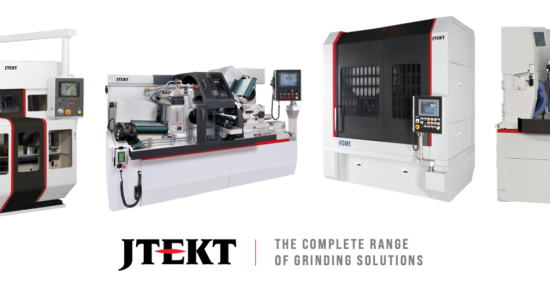
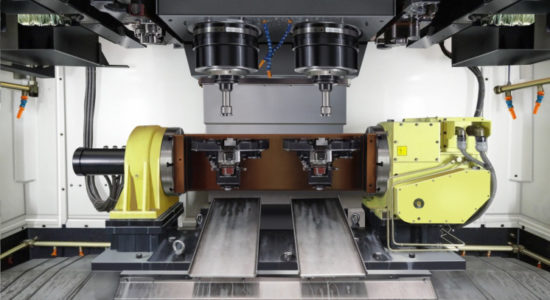
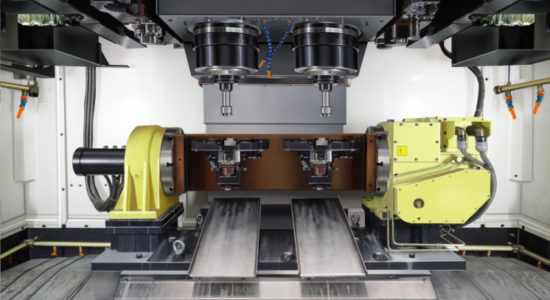
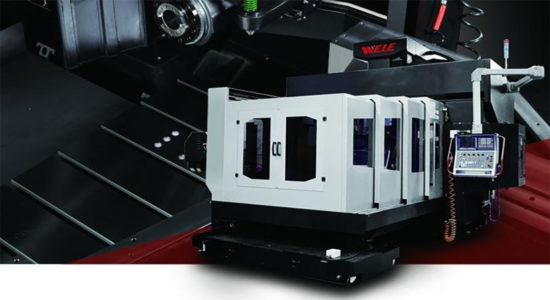
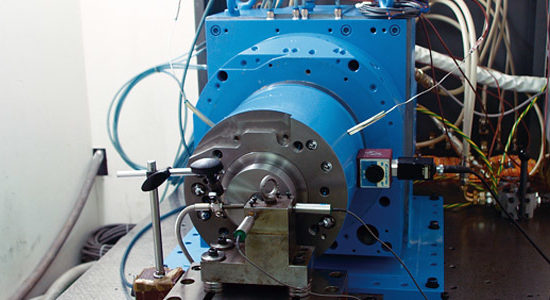
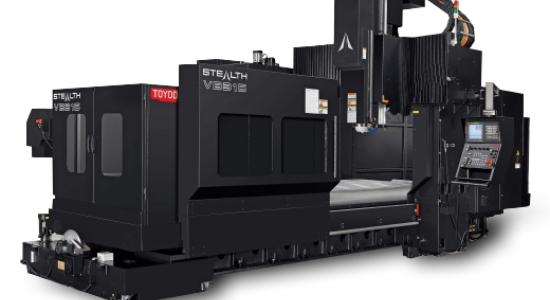
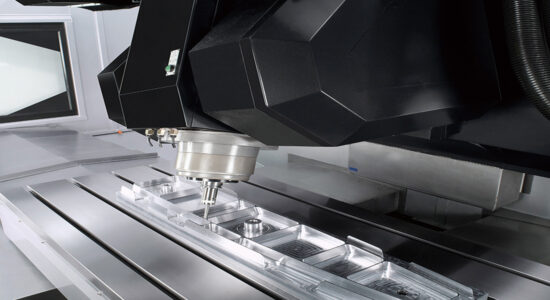
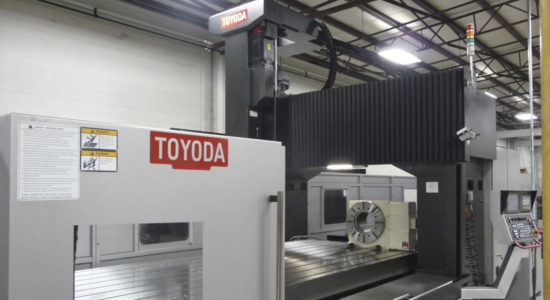
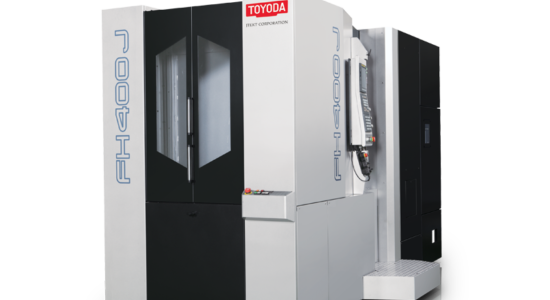
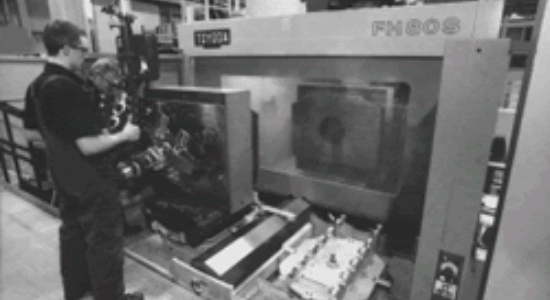
JTEKT Machinery, a global leader in grinding machine technology, offers a range of high-performance universal, cylindrical, camshaft, and crankshaft grinding machines all specifically designed to excel in the most demanding of applications. Contact Shane for additional questions at sfarrant@jtektmachinery.com.